HP DV6500T Repair
Installing A New LCD Screen
09/03/08
Click each picture to make it big. Then back to return here. For pictures taken of a computer screen, put your cursor in the lower right corner, then click to make the picture big, that will get rid of the black wavy lines and make it clear.
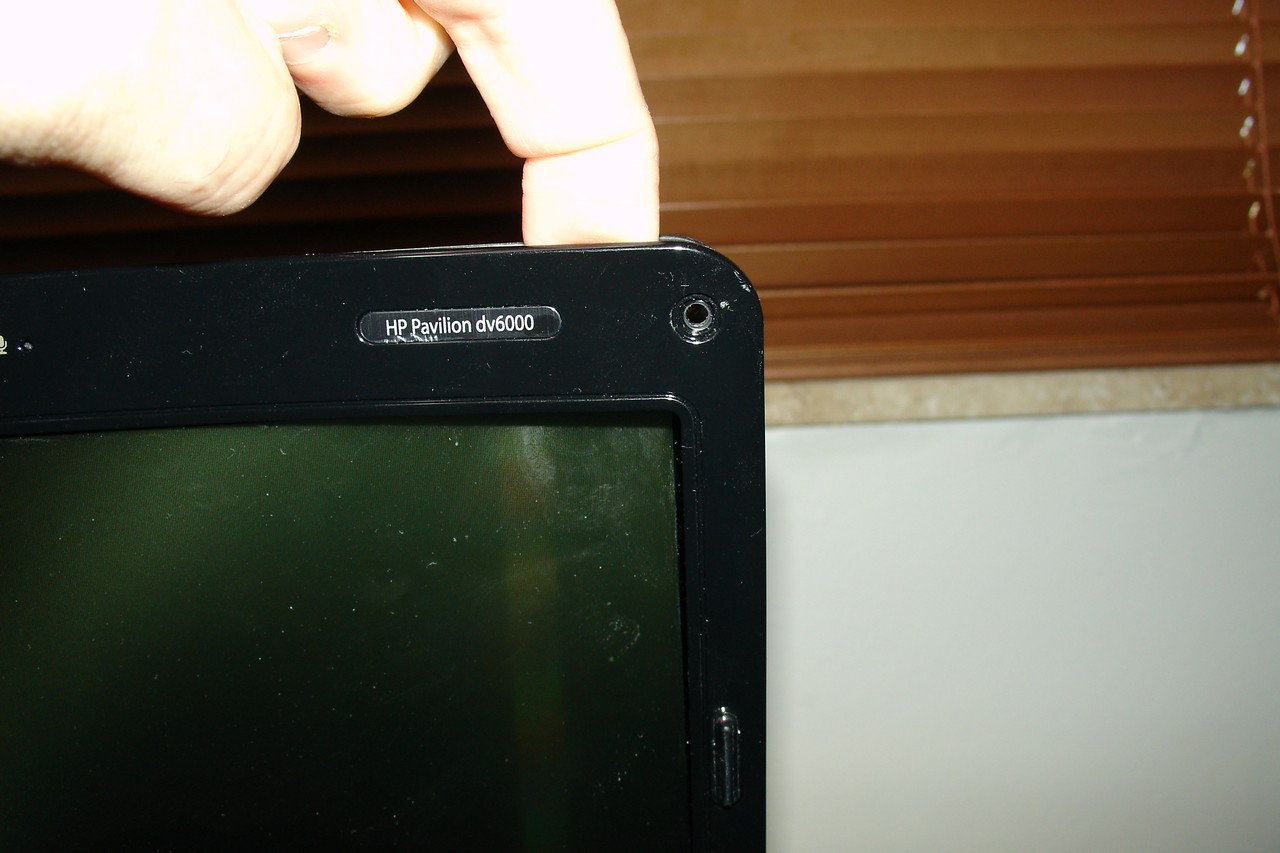
My laptop developed a red line down the right side of the screen. This was caused by bumping the laptop screen, or leaving it on too long (heat).
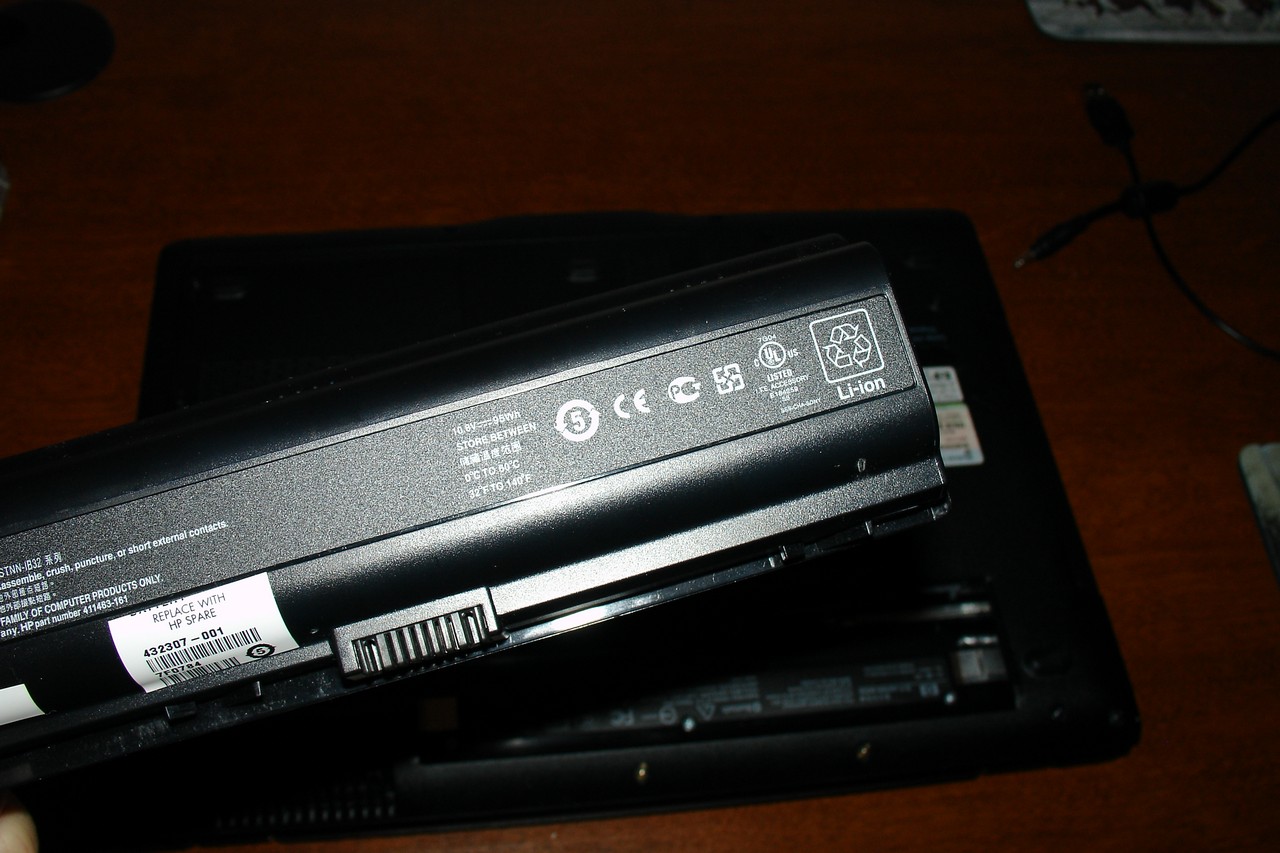
I took the laptop apart, and wrote down the part number of the current LCD screen.
AU Optronics B154EW04 is the part number of the screen on the DV6500T. If you search E-bay for this part number (B14EW04), a few screens will appear. They may be for different laptops, but that's ok. This is the exact replacement part for the DV6500T, and these screens cost the least money. In my case the screen sold for $119 with $12 shipping by USPS.
The HP Part Number is 446481-001. If you search E-Bay for this part number, you'll find clone screens that cost upwards of $150 plus.
If you search the web site Screentek, the part will cost $300 which is way too expensive. Go with the exact replacement part from AU Optronics.
Remove the battery and power cable from the laptop.
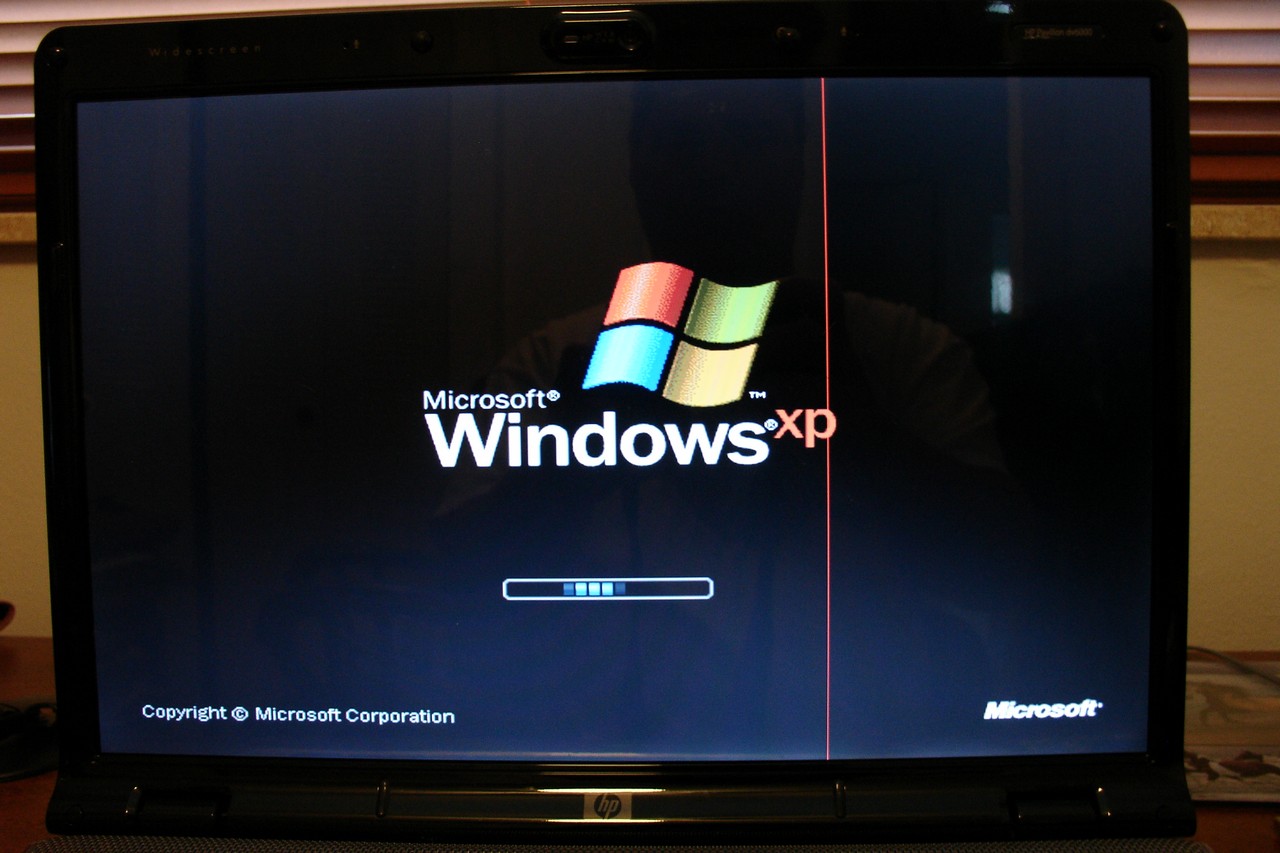
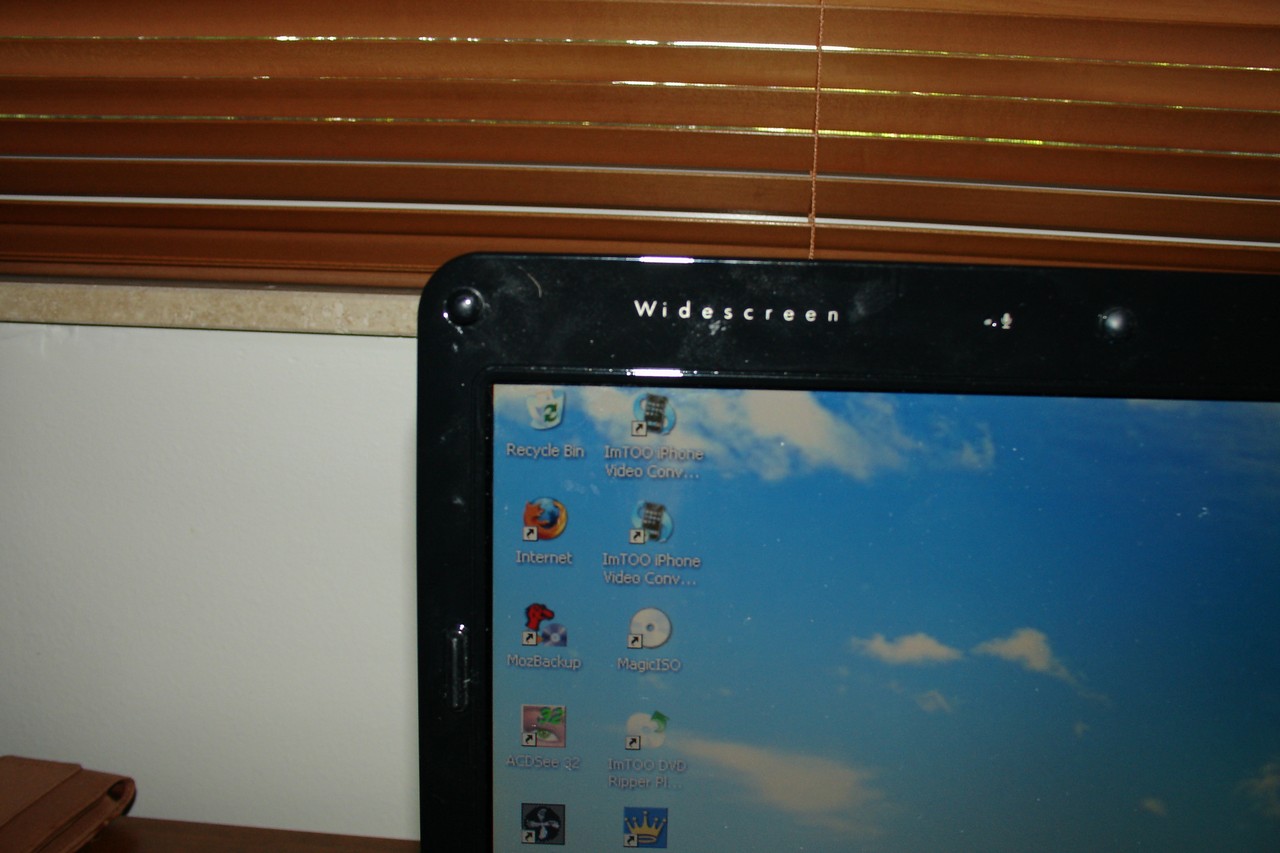
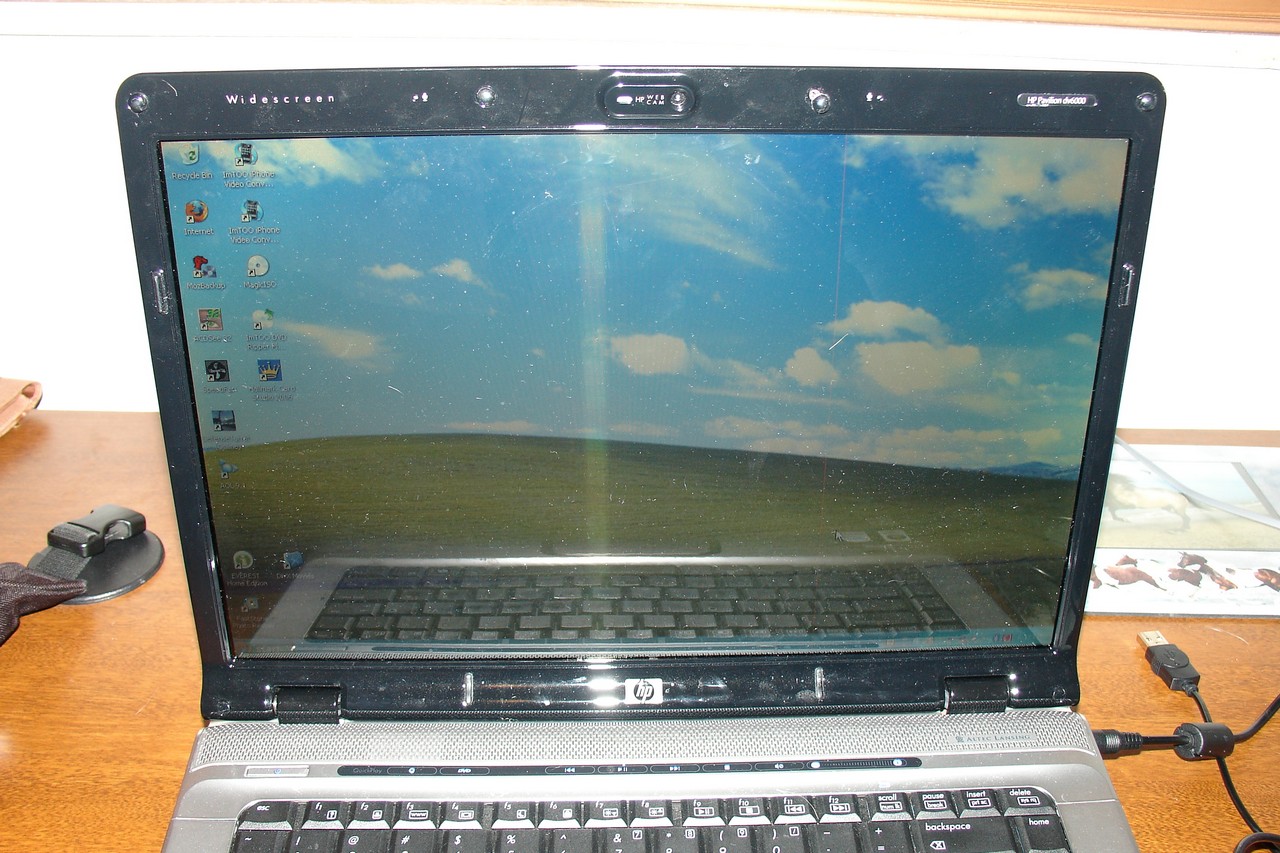
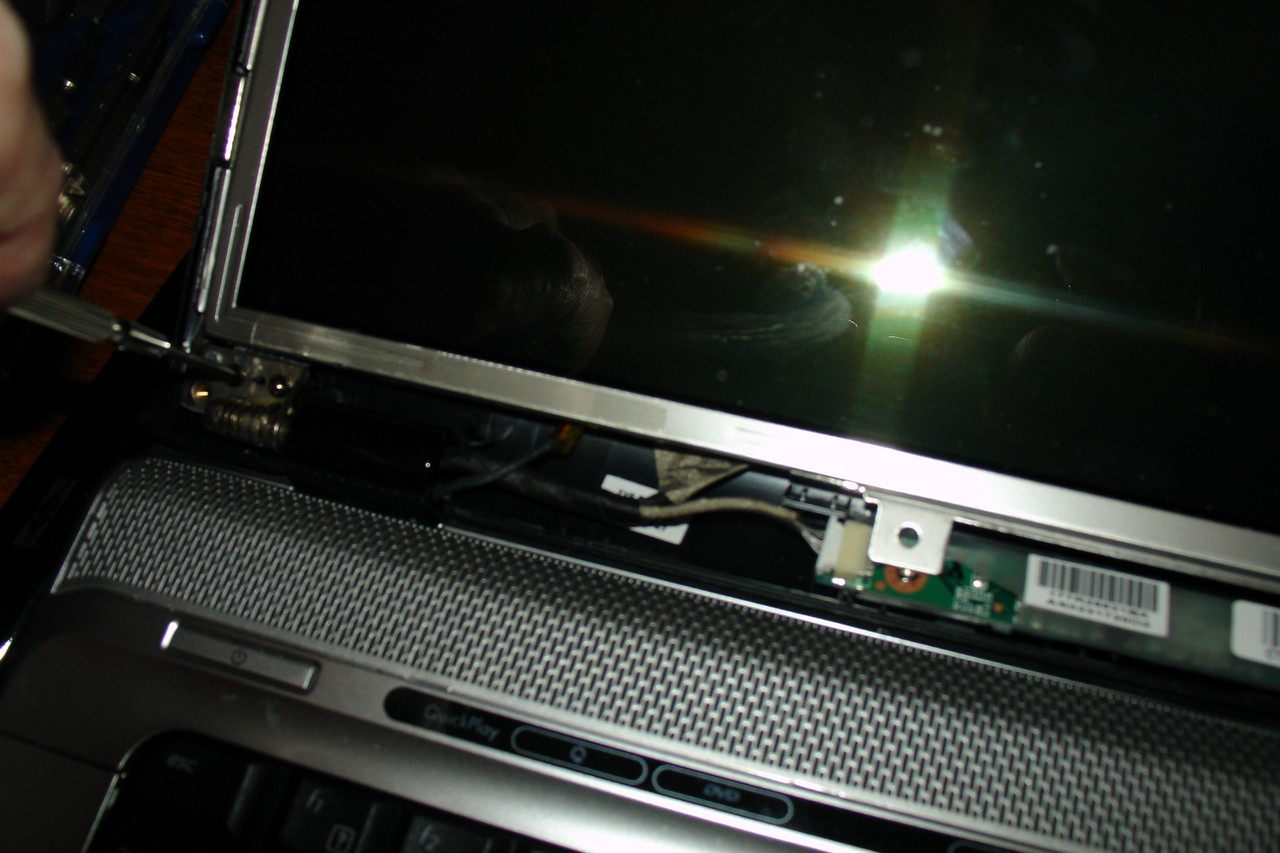
As you can see in picture 1, I've got a red line running down the screen. In picture 2 look to the top of the laptop and you'll see little bumpers. They come off by pushing them out of the way with your fingers. In picture 3 there is also a bumper in the lower corner of the screen. Take a tiny screwdriver and dig out the bumpers. In picture 4, you can see the 4 bumpers along the top row and the 2 bumpers along the bottom.
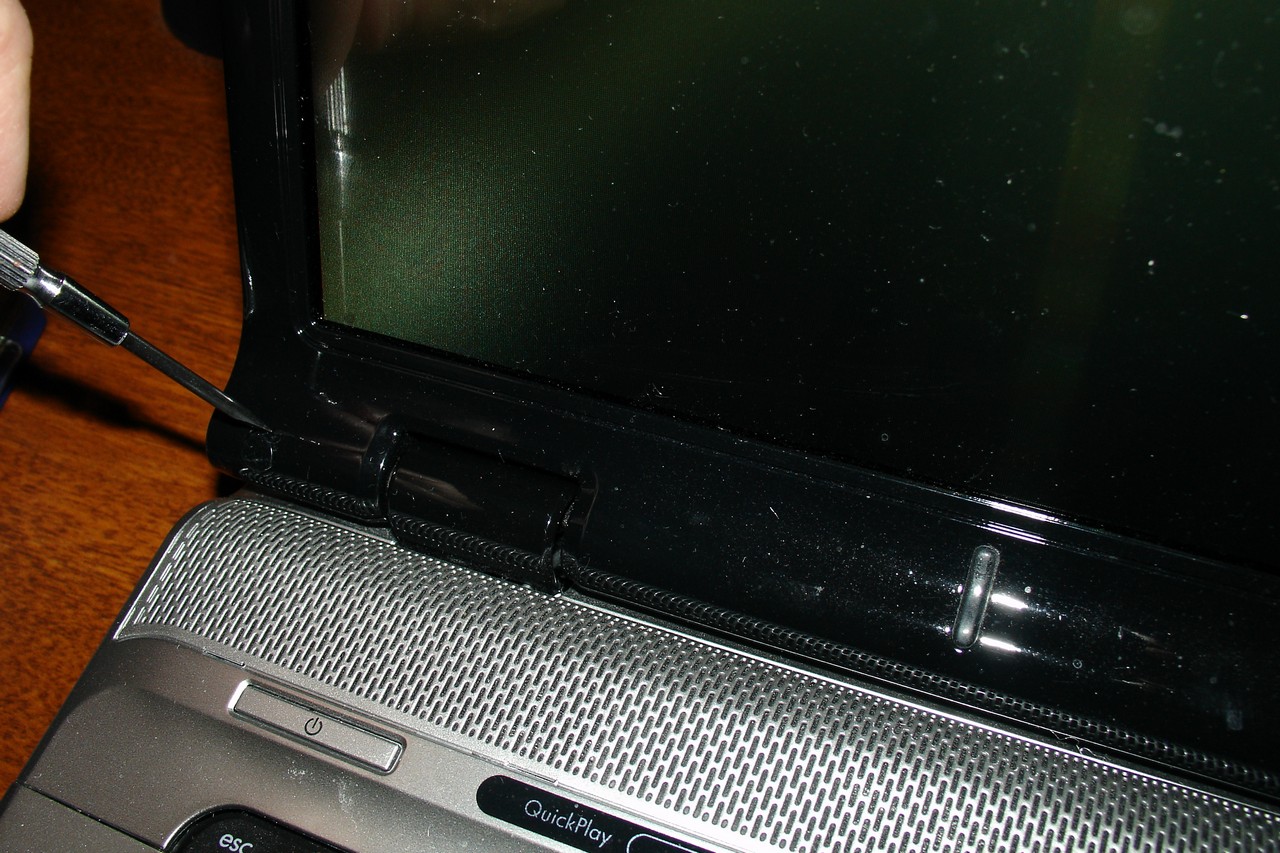
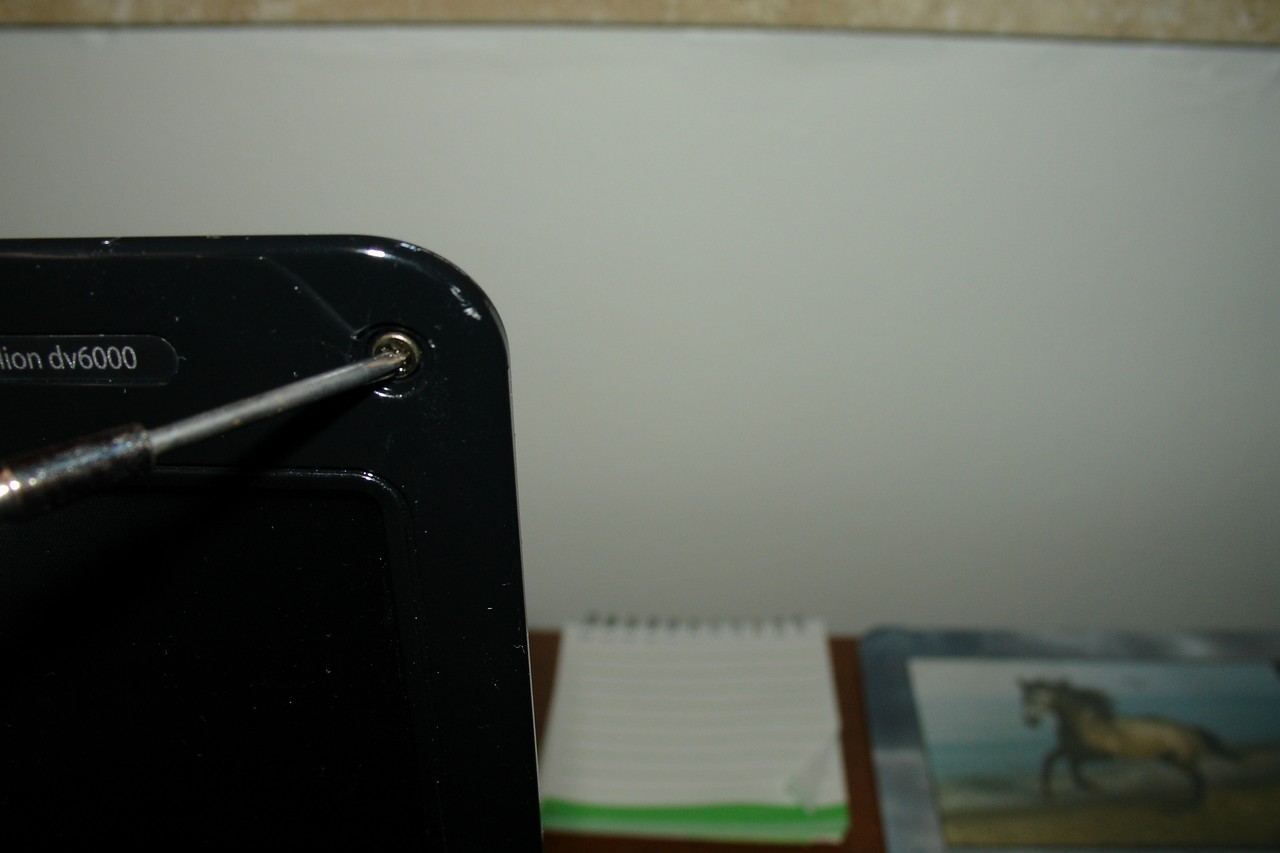
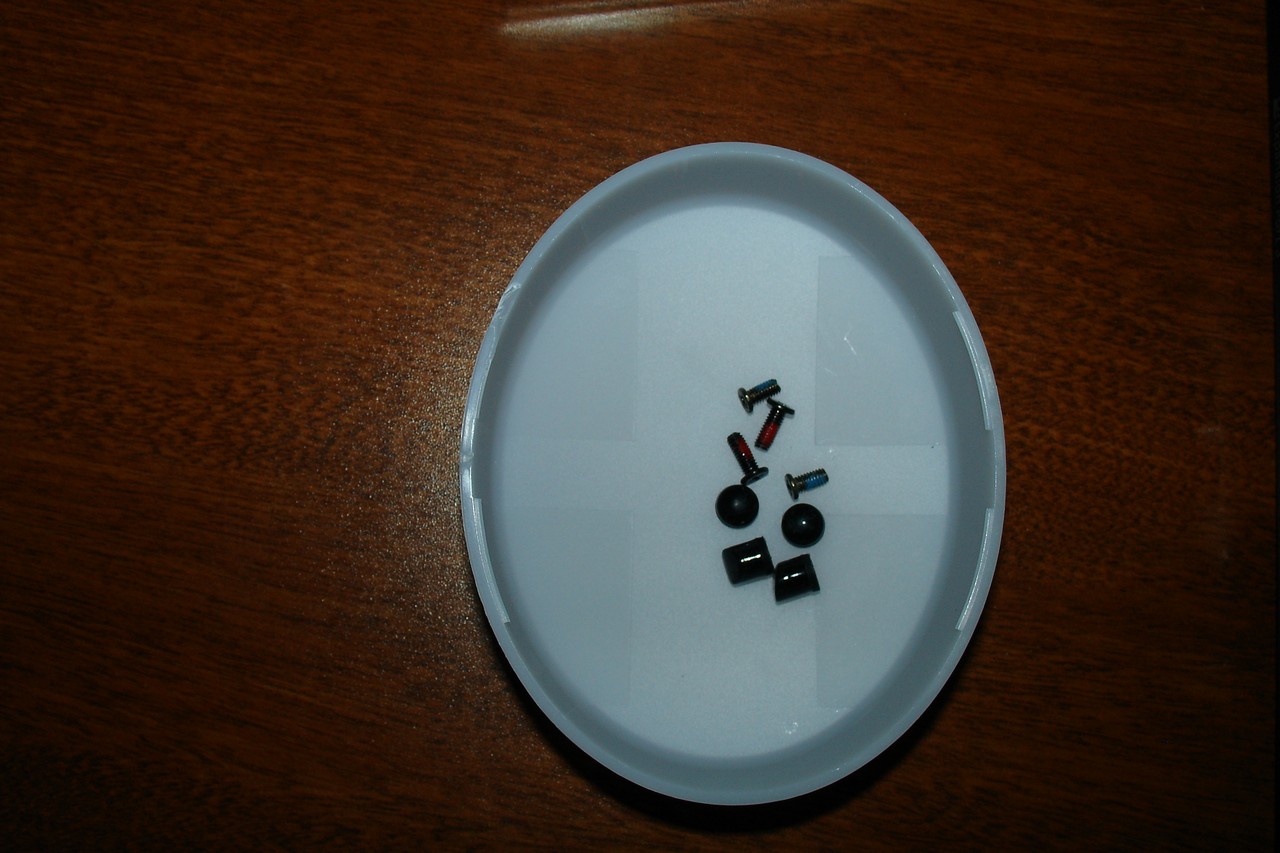
Here's a close up removing the lower bumpers and the screw at the top. In picture 3 I've got a little container to store the screws. You should have 6 tiny screws and 6 bumpers at this point.
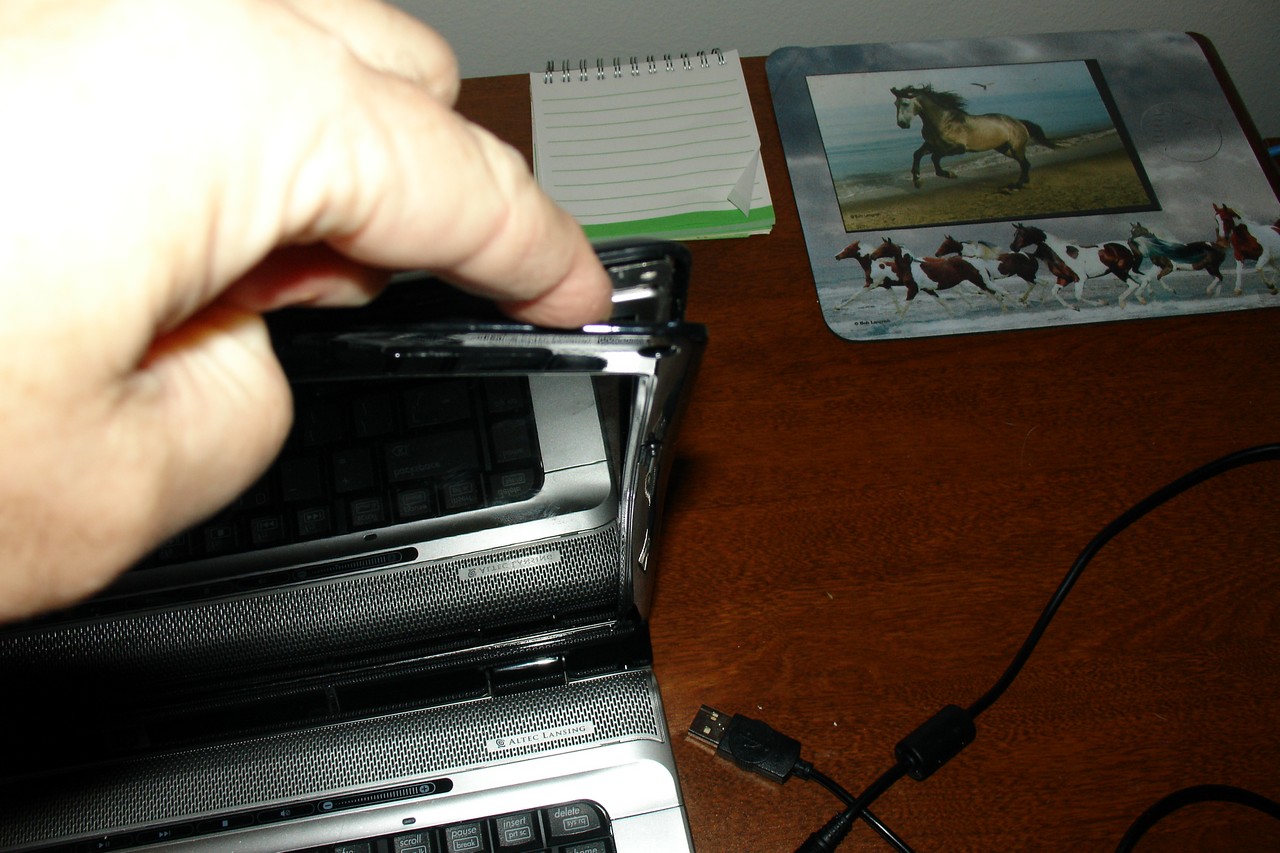
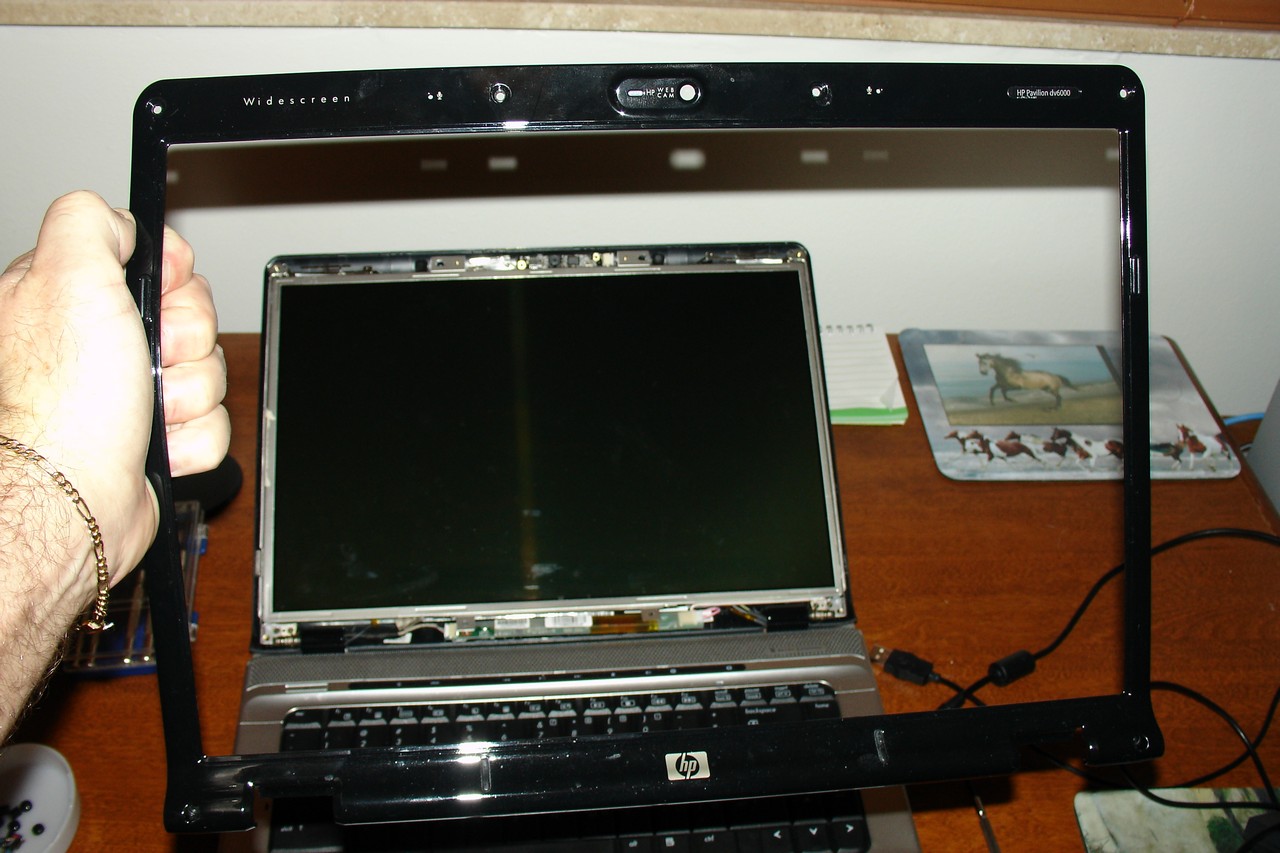
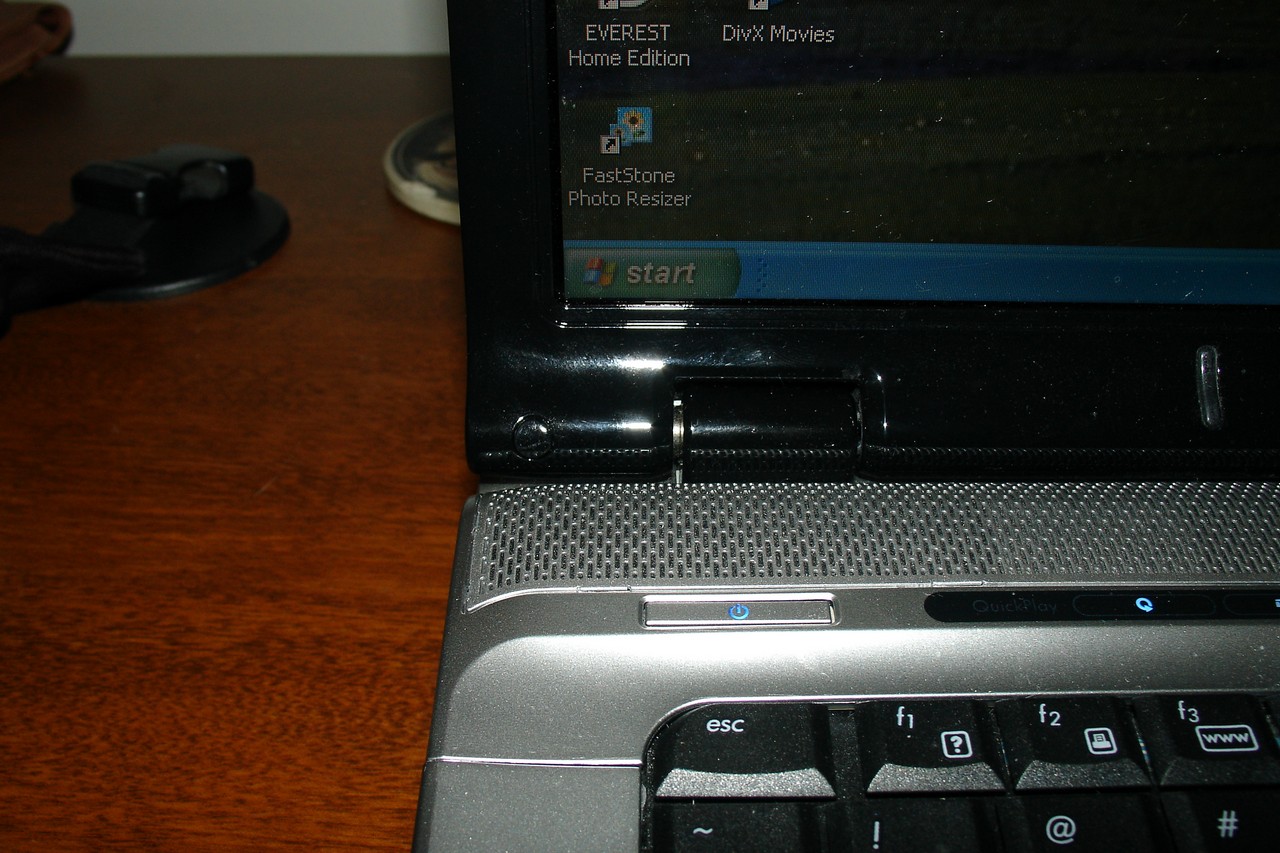
In picture 1, take your fingers and pry at the corner of the case. You can take a screwdriver covered in a protective cloth and pry at the case. The corner will eventually break apart. Be gentle while doing this and take your time. In picture 2 the corner has broken free and I can wiggle my finger between the space and slowly move along the top. In the 3rd picture I've moved along the top of the case and the pieces are coming apart easier. I go down the sides, then pull up on the bottom. In picture 4 the plastic frame lifts up. It's best to have the laptop all the way open when doing this.
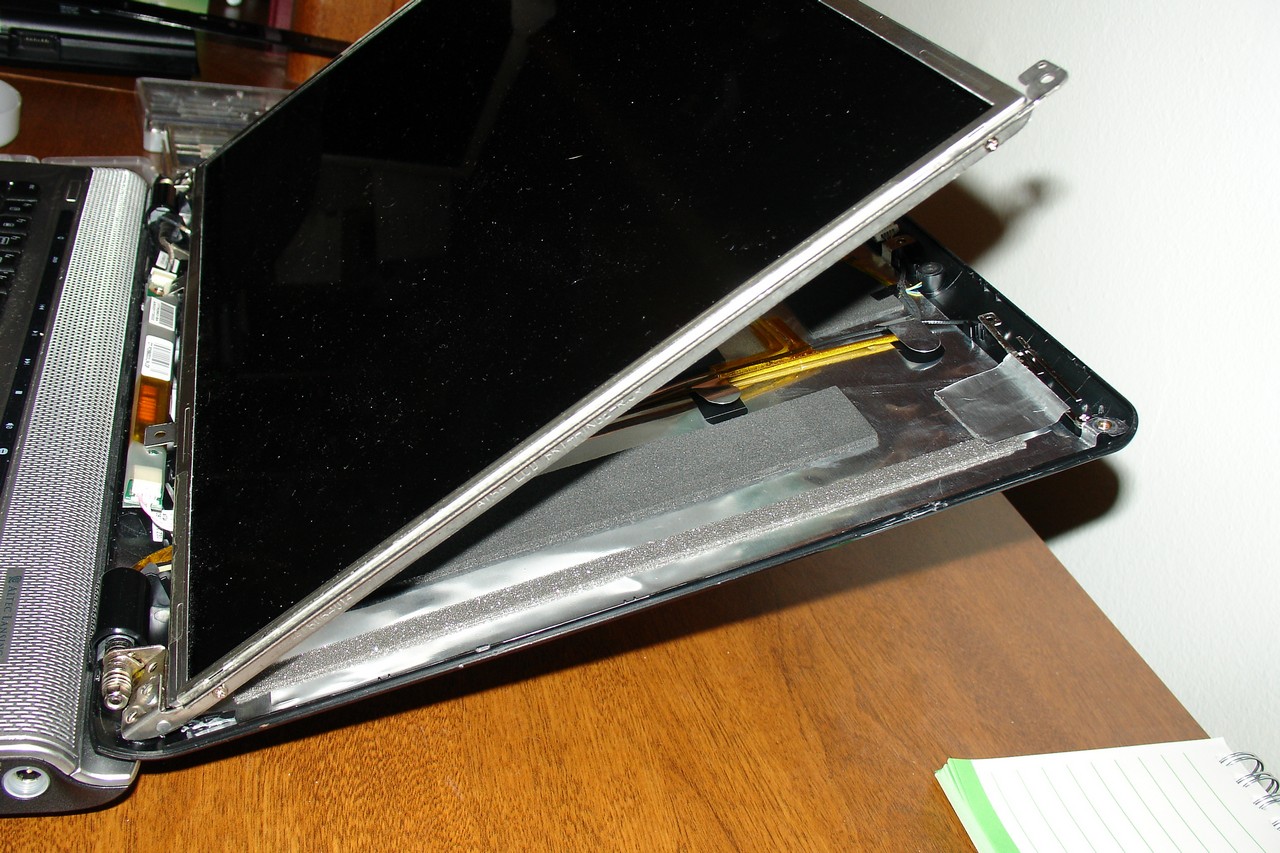
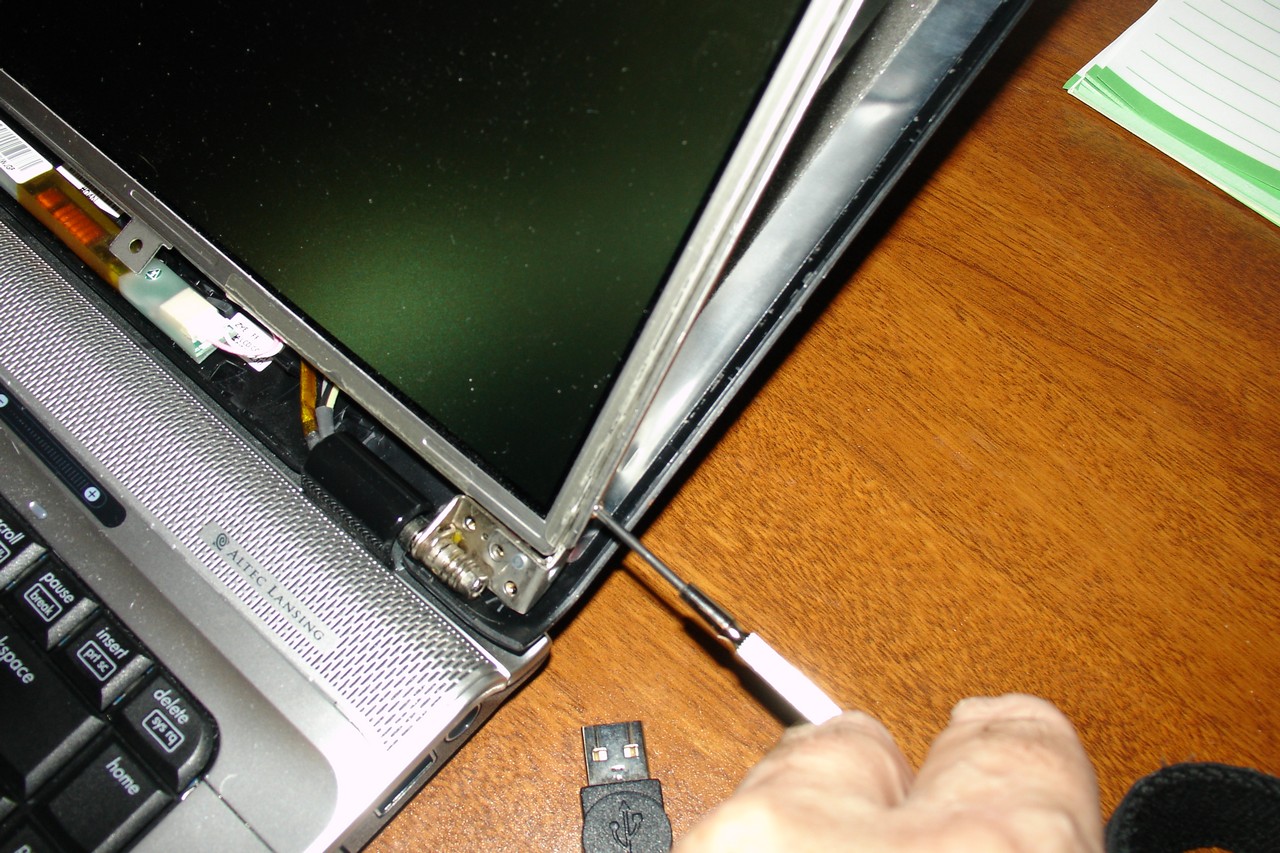
At the bottom sides of the screen are two screws on each side that hold the screen to the back. Remove them and place in a different container. The back of the laptop case will drop down. In picture 2 there are two screws in the side frame of the LCD. Remove these two screws as seen in picture 3. You will now have 8 screws in another container.
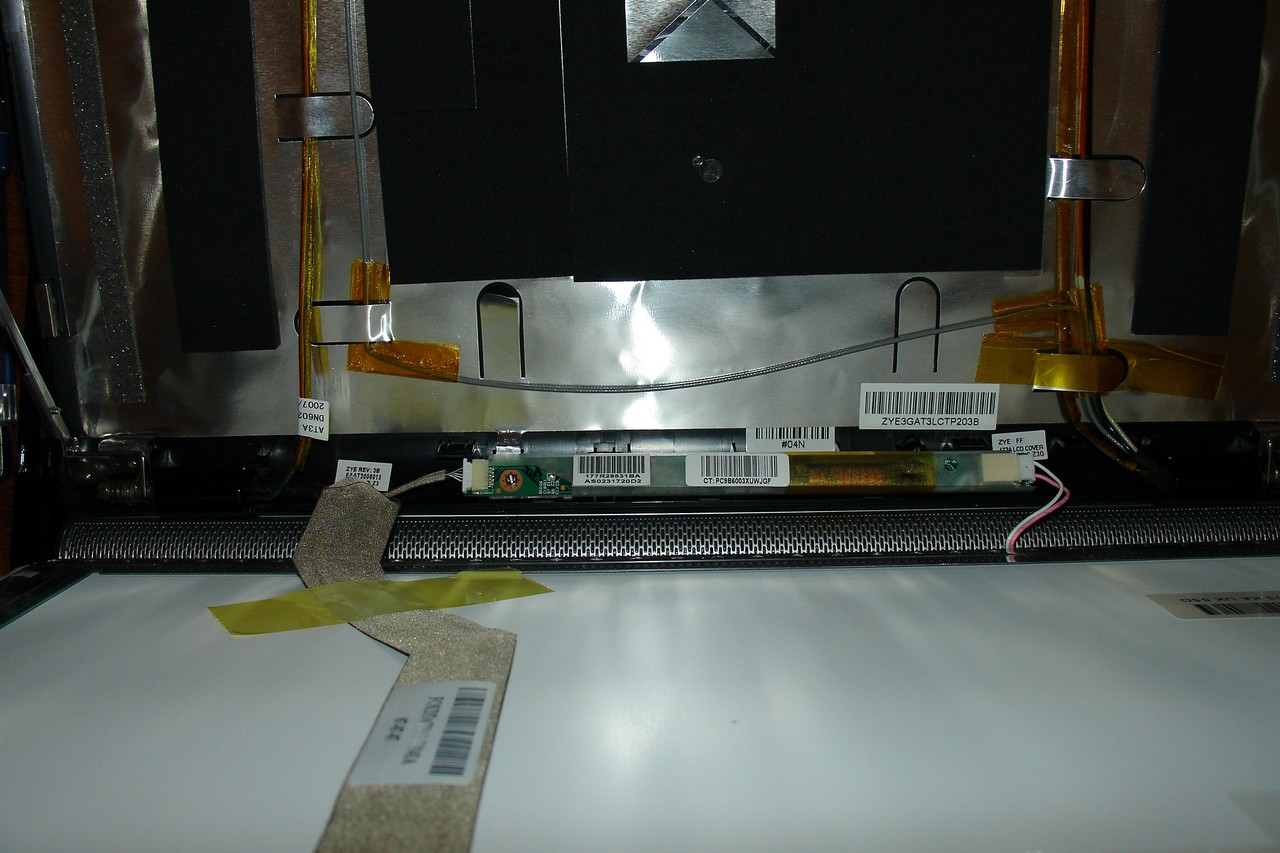
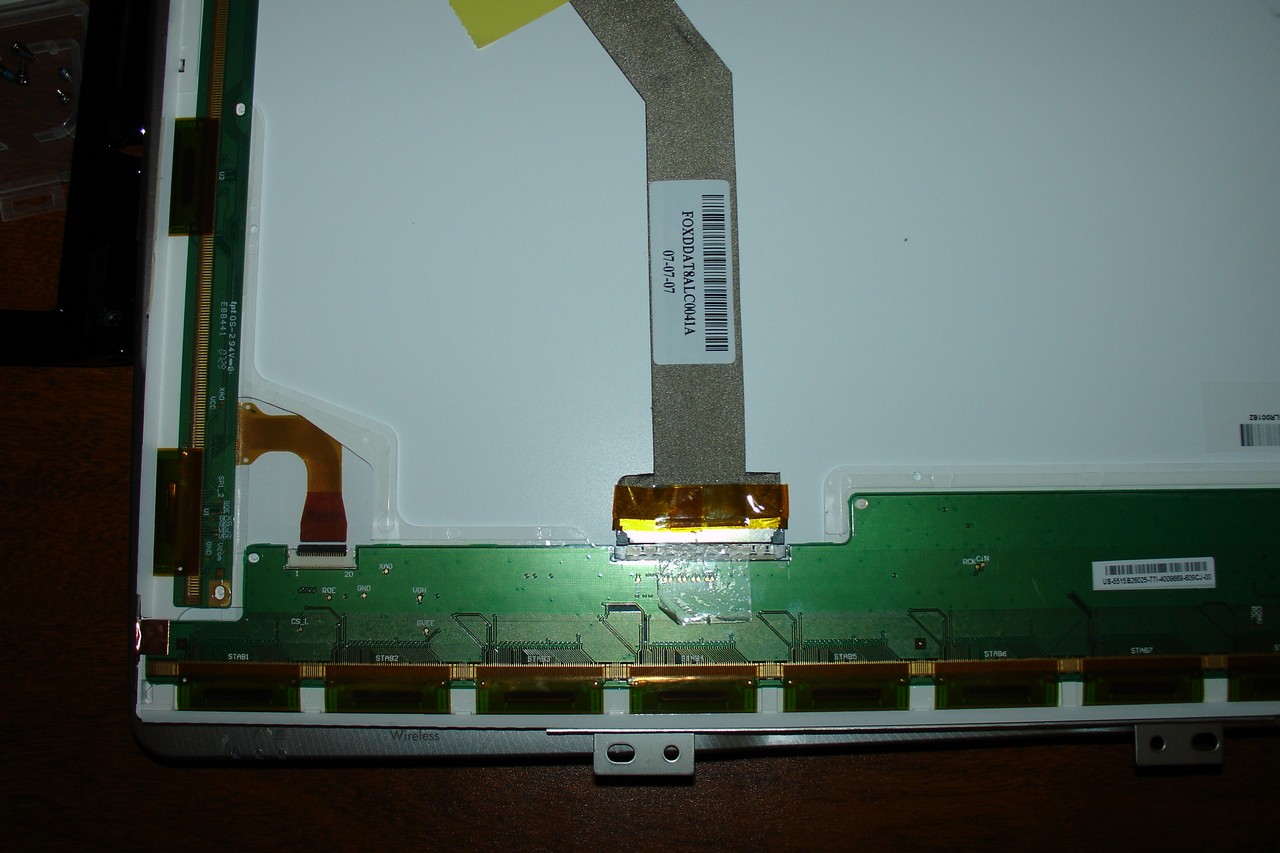

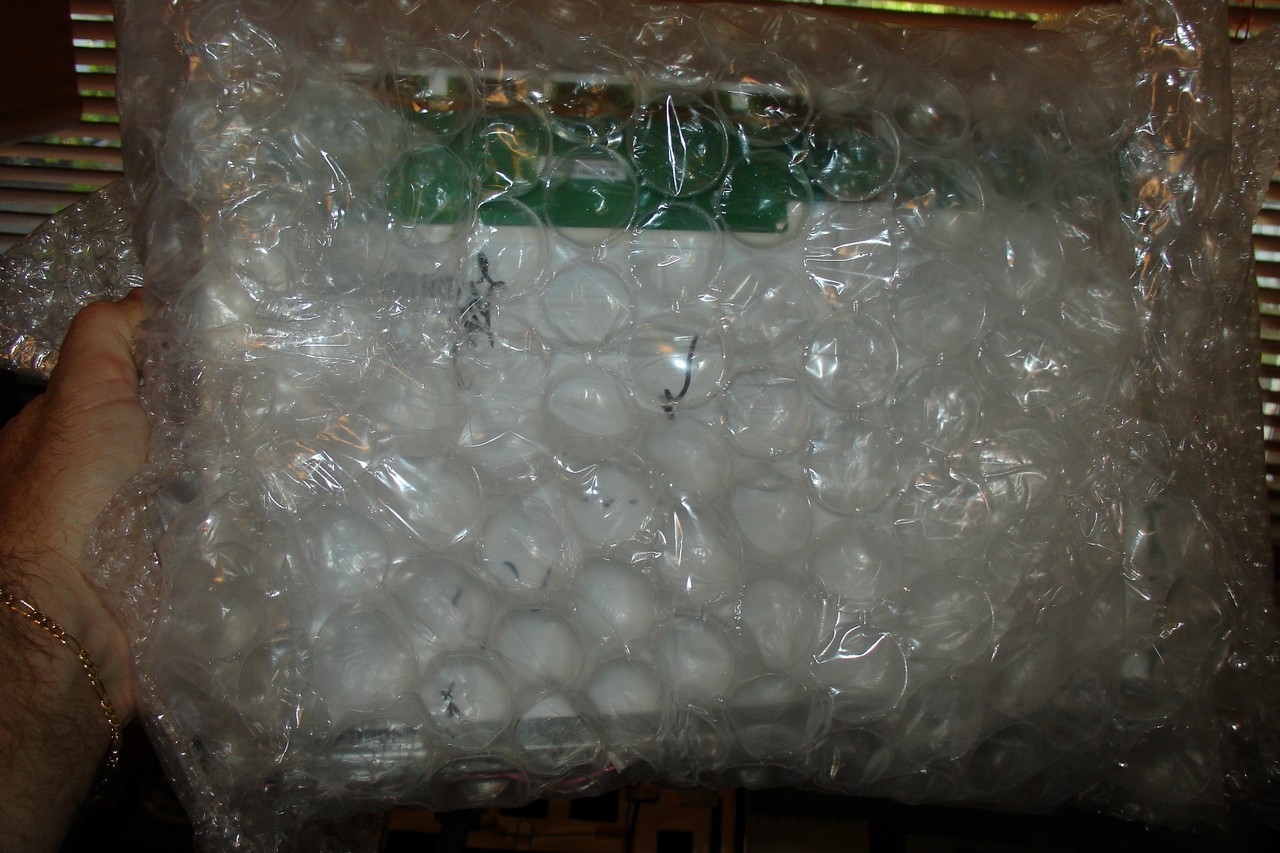
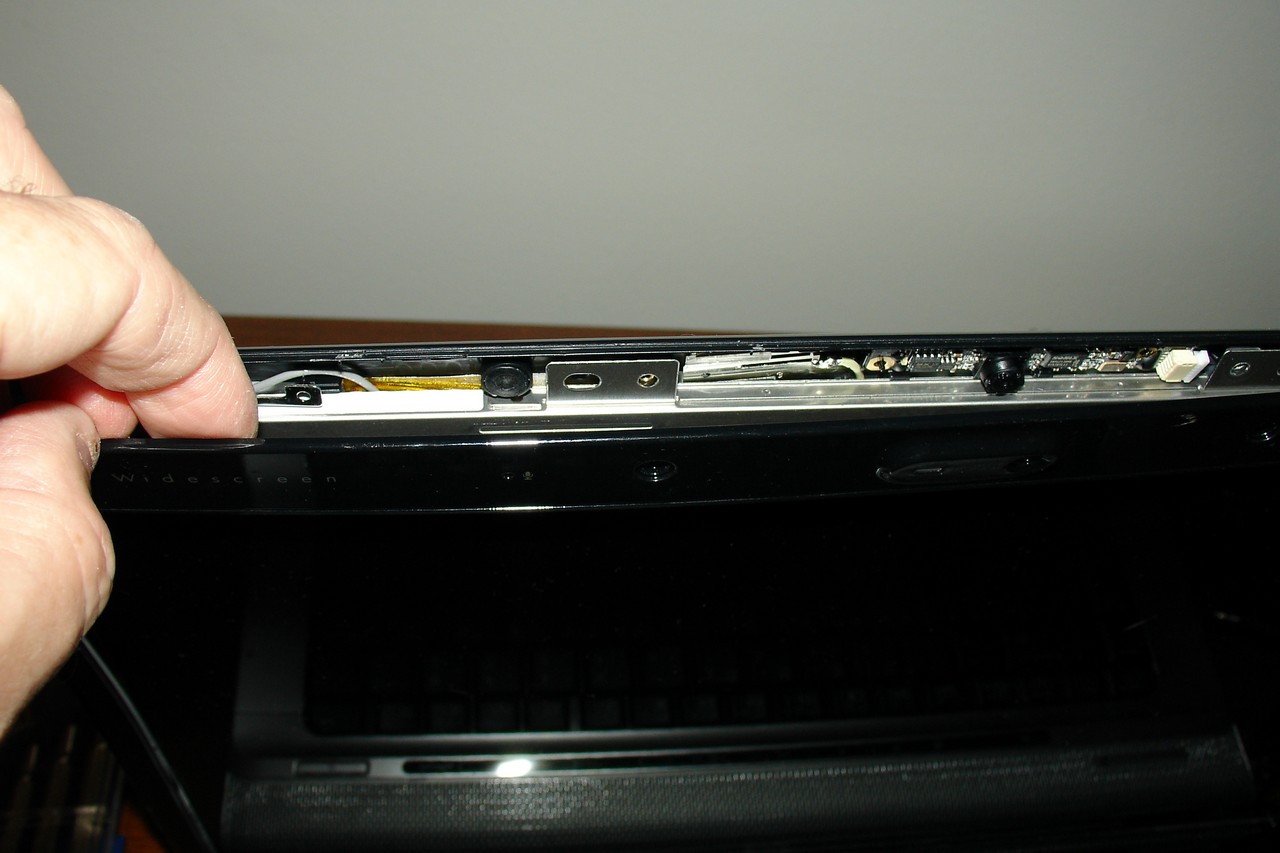
In picture 1 you can see the inverter at the bottom of the LCD screen. To the right side of the inverter is a clip with a white and red wire. Carefully pry the clip off the inverter. In picture 2 you can see the back of the LCD screen and the connector. There is tape holding the connector. Carefully pry the tape back and do the same for the yellow piece of tape at the top of the screen. In picture 3 I'm holding the LCD in my hand. In picture 4 is a used LCD screen I bought on E-Bay. As you can see, the seller was nice enough to wrap the screen in bubble wrap.
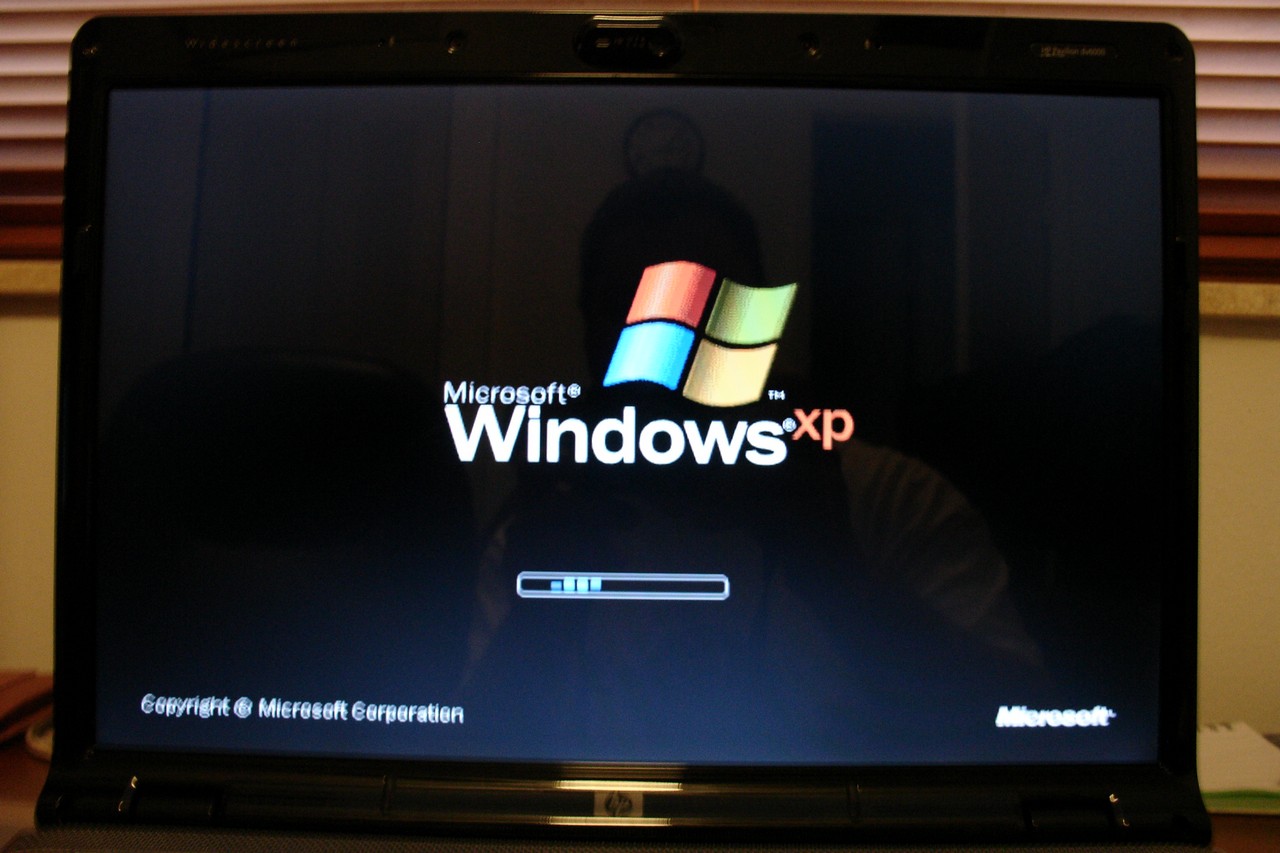
Reverse the directions to install the new screen. Put the inverter cable back on, put the LCD screen in the frame (4 screws), put the connecter on the back making sure it is in place correctly. The grey connector goes into a tiny slot. If you miss the connection, the screen won't work. Replace the 4 screws along the bottom of the screen. Put the plastic frame back in place. If you want, test the laptop at this time. If the screen come back to life, replace the 6 screws and the bumpers. Congratulations, I hope this guide helped you fix your DV6500T LCD screen.
End of Report. Thanks for reading.
Links
